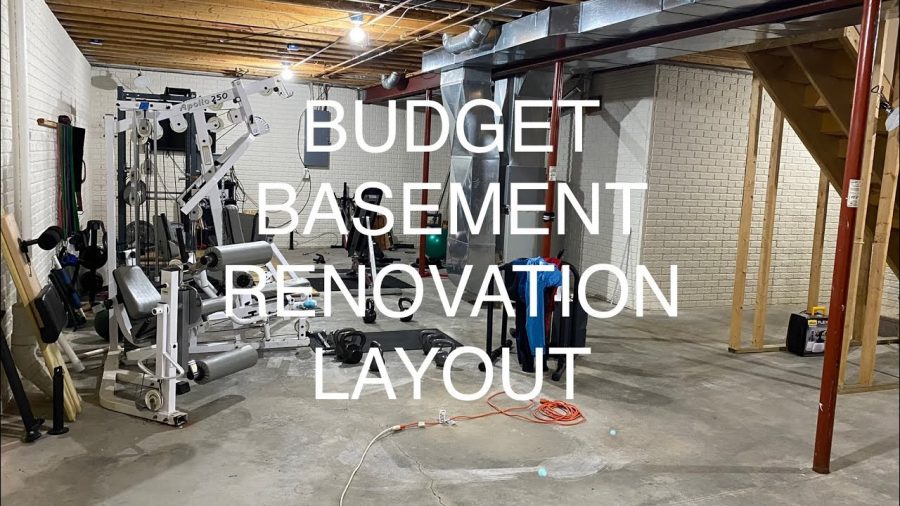
I have wanted to do something with my basement since we bought this house 5 years ago. This video is the start and it shows the budget basement renovation layout. I have been getting distracted during my workouts just planning the plan essentially. It is time to start taking action on this project.
Budget Basement Renovation Layout
Step 1. Move the wires up and out of the bottom of the joists.
Step 2. Clean the joists of dust and dirt with a broom and shop vac.
Step 3. Sand & use paint stripper to remove paint on the metal beams and support posts.
Step 4. Clean the walls, possibly with a power washer to strip loose paint and dirt.
Step 5. Move gym equipment out of the basement and remove any wall coverings (I am going to need a one week gym membership too).
Step 6. Possibly install can lights and if it’s can lights it’s best to do them now so they are painted at the same time as the ceiling.
Step 7. Paint the ceiling using a dryfall paint and cover floor so there is less prep needed for the future floor coating.
Step 8. Paint the walls and the walls leading up the basement stairs. I am hoping to complete this in the same day or weekend as I will likely be renting a sprayer.
Step 9. Using the Rocksolid Rust-o-leum basement floor Marble coating system (and following their steps in terms of prep and painting it on). I will likely use a grit material to limit slipping. The marble style of Rocksolid would not look good with fleck, so I won’t be using any additional material.
Step 10. Trim entry way of basement wall down to have that finished and drywall around the base of the steps.
Step 11. Paint that area (likely using a semi-gloss paint to limit smudges or rolling on any remaining dryfall paint). This will require less covering of the floor for any paint that may overrun.
Step 12. Frame around and drywall sump pump area to have that area enclosed for a better look (and possibly a future bathroom).
Step 13. Paint that area using the strategy from step 11.
Step 14. Frame around and drywall the furnace area which will again give a better overall look and possibly act as future storage.
Step 15. Paint that area using the strategy from step 11.
Step 16. Bring home gym items back into basement (aiming to cover them with moving blankets or old blankets to limit any wall damage).
Step 17. Enjoy!
That is the layout and as I acquire materials I will add those down below.